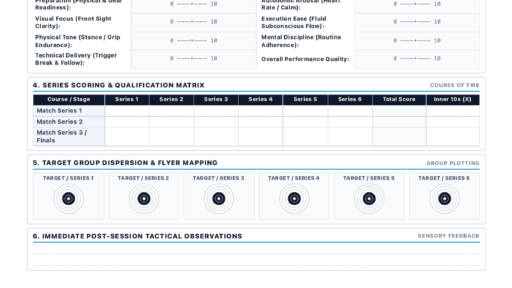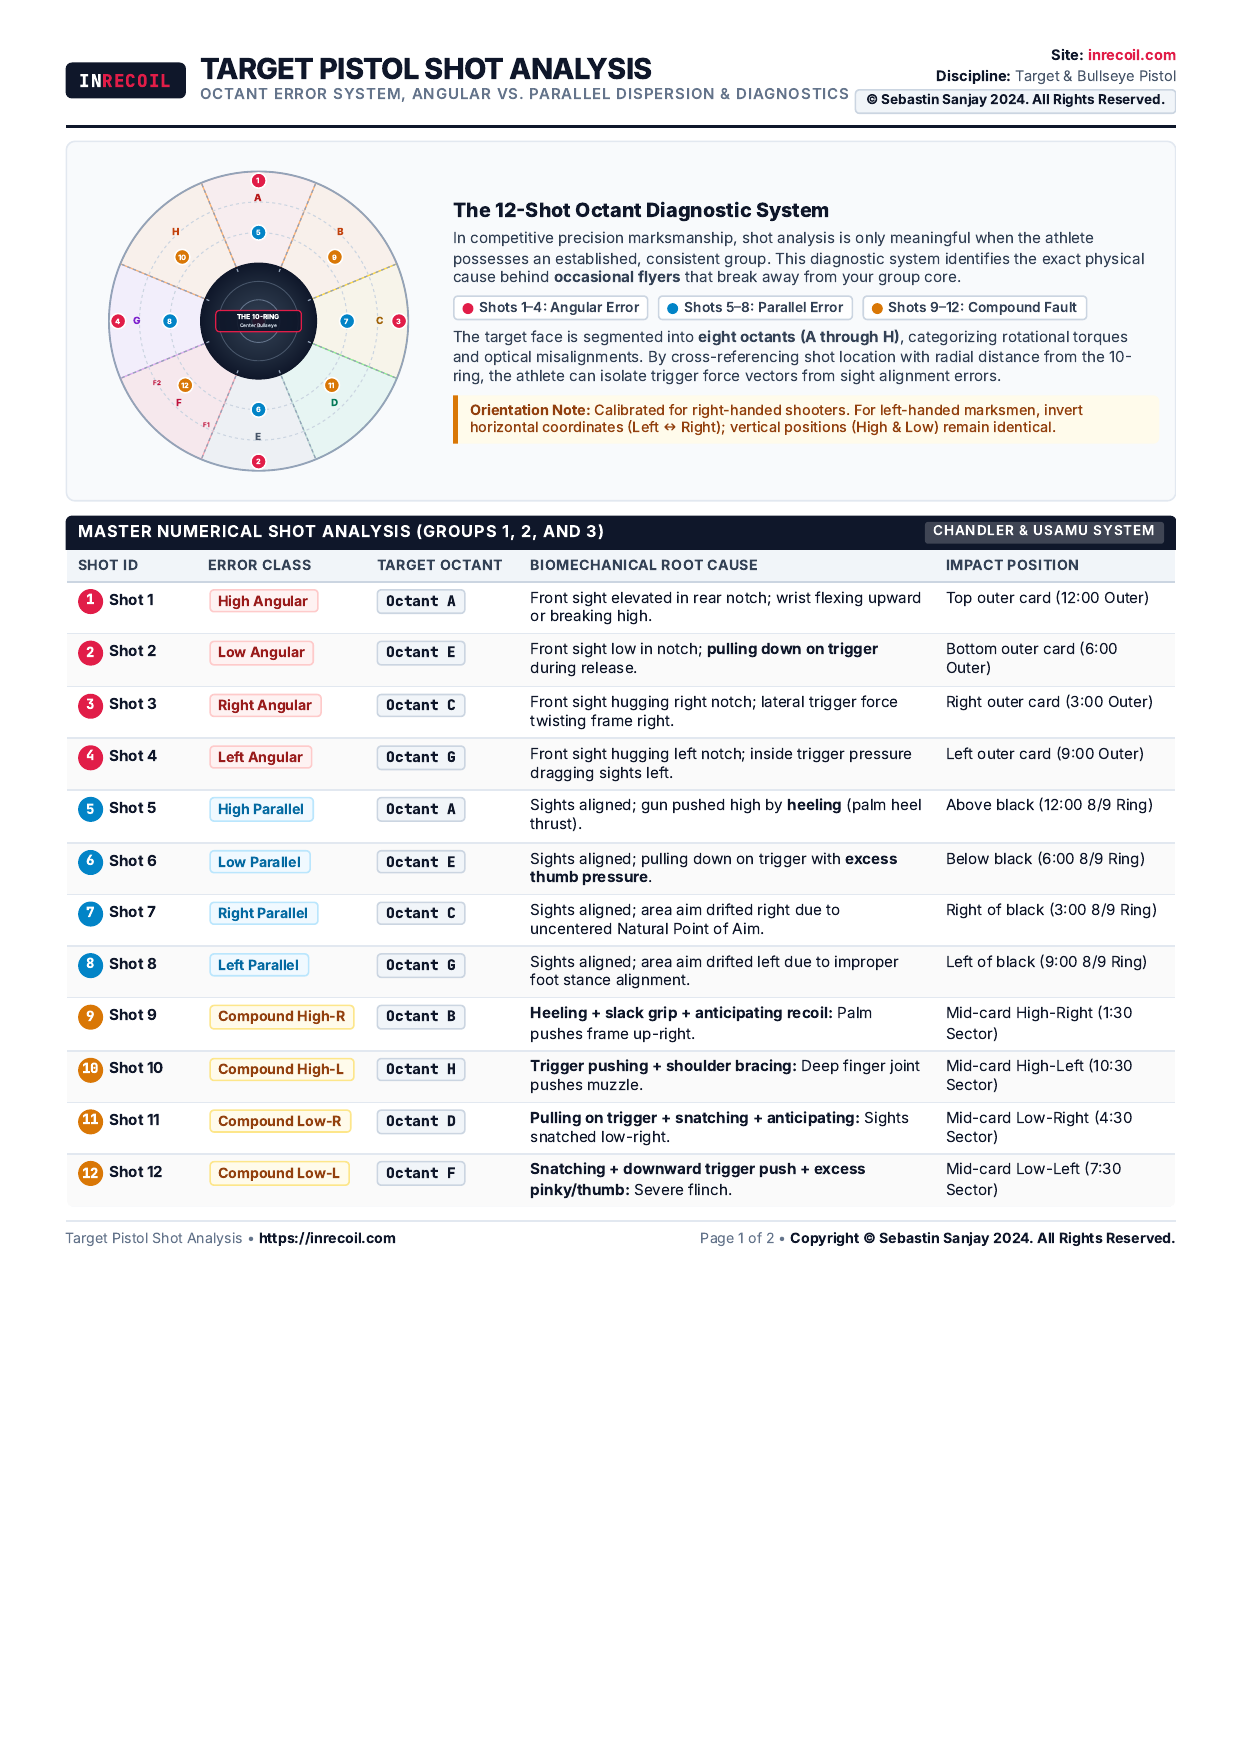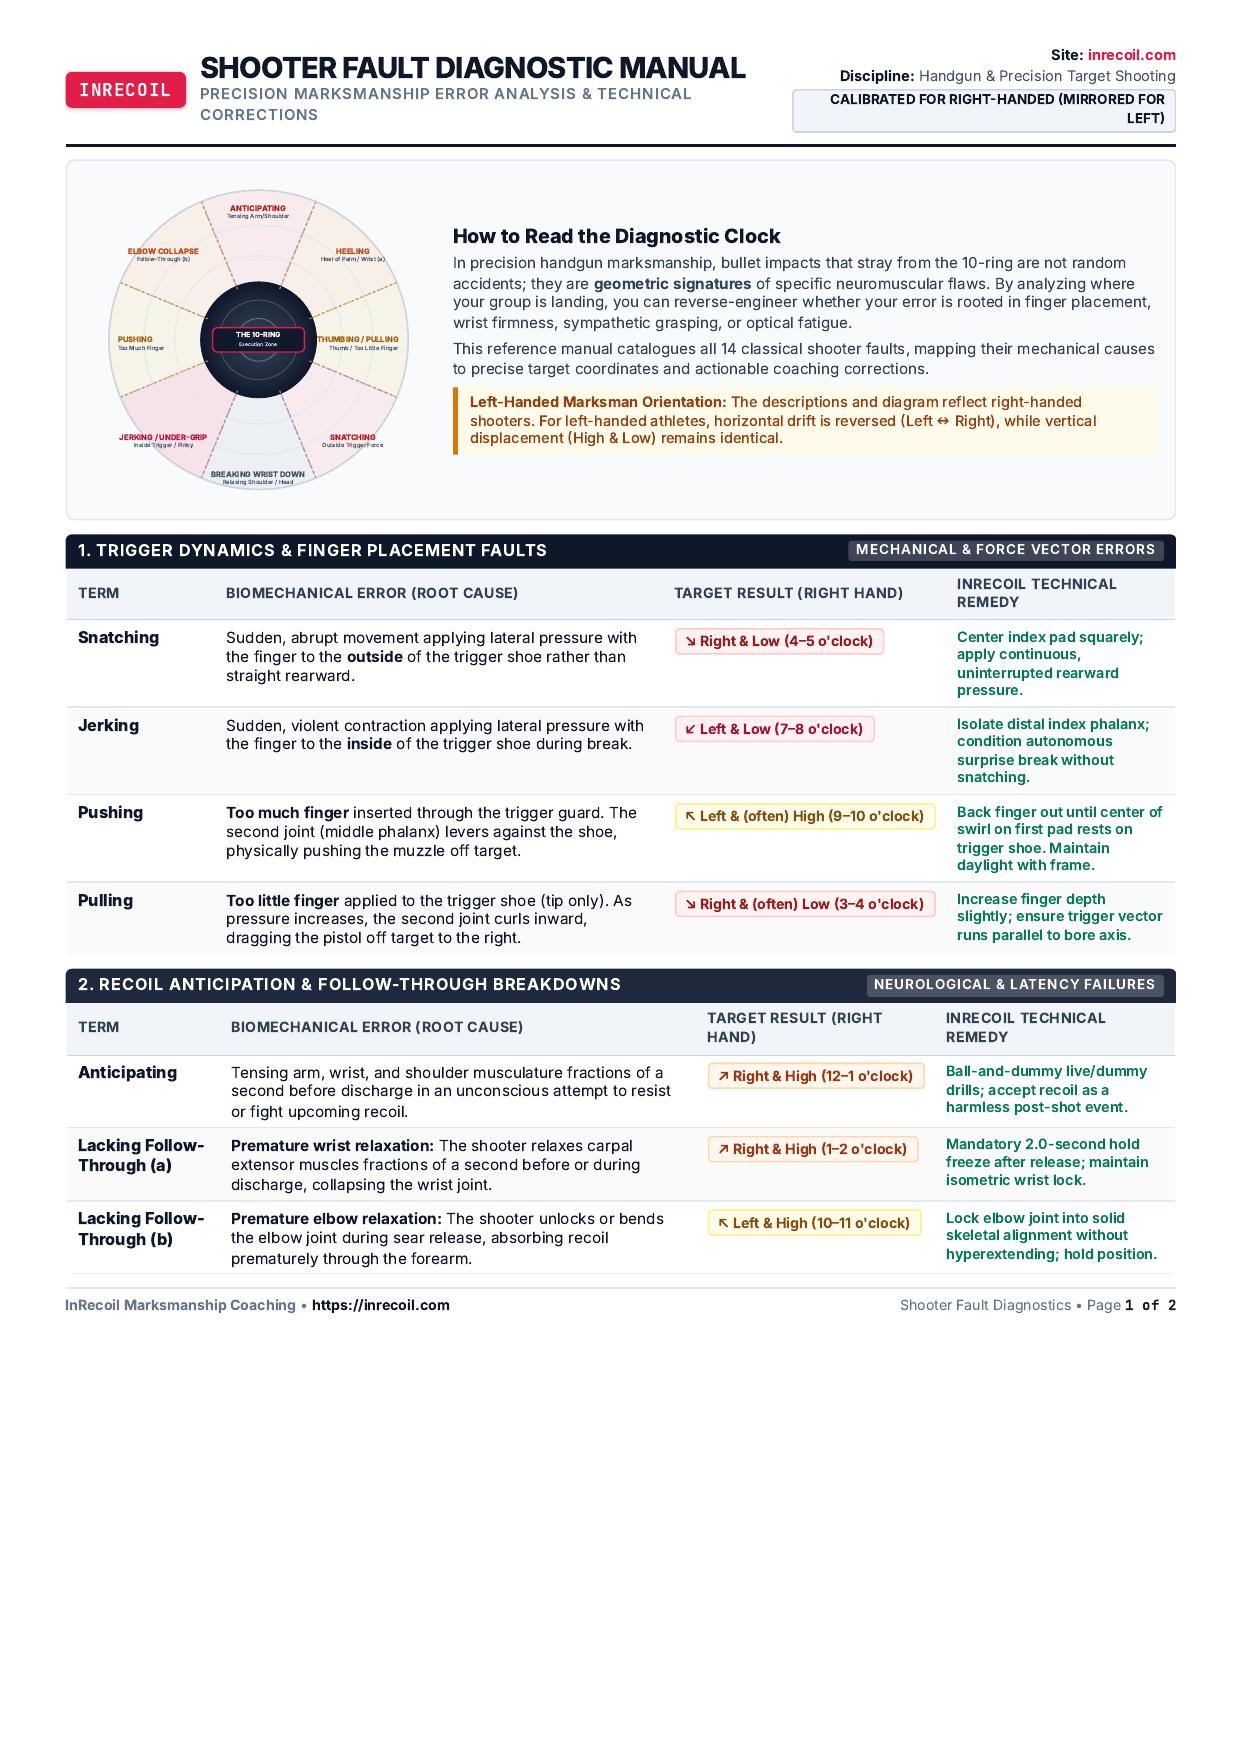

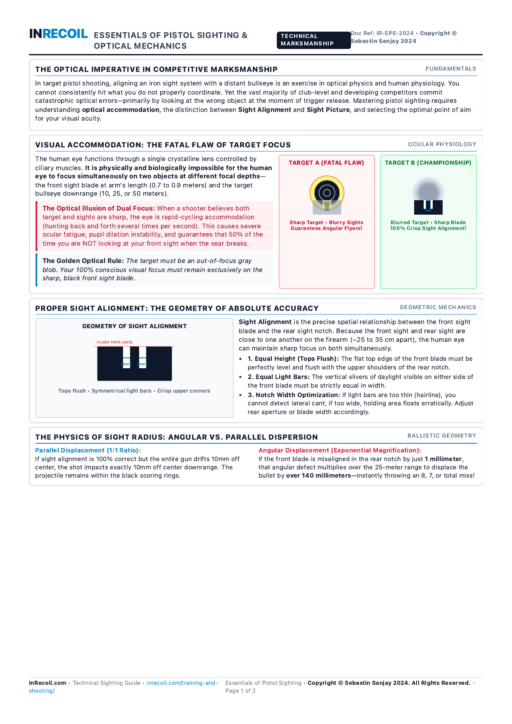

In precision handgun marksmanship, accuracy is fundamentally a problem of optical alignment and human physiology. If you cannot consistently coordinate your iron sights in relation to your eye and the target, you will never achieve competitive consistency. Yet countless shooters waste hundreds of hours adjusting grips and tweaking trigger springs while committing the single most destructive optical mistake on the range: looking directly at the target when the shot breaks. At InRecoil, we are proud to publish the official Essentials of Pistol Sighting & Optical Mechanics Manual, authored by Sebastin Sanjay (Copyright © Sebastin Sanjay 2024), available as a high-resolution 2-page downloadable vector PDF reference card.
[box]
Download the Official Essentials of Pistol Sighting Manual (PDF)
Equip your range bag with the complete 2-page printable coaching guide designed exclusively for InRecoil. Features optical accommodation diagrams, sight alignment geometry (equal height, equal light), a comparative breakdown of Center-of-Mass vs. 6 O’Clock vs. Sub-6 holds, and ambient lighting adjustment rules.
[button url=”https://inrecoil.com/wp-content/uploads/2026/11/inrecoil-essentials-of-pistol-sighting.pdf” text=”Download Free Sighting Manual (PDF)”] [button url=”https://inrecoil.com/training-and-shooting/technical-pistol/sighting-with-the-pistol/” text=”View Companion Sighting Guide”]
[/box]
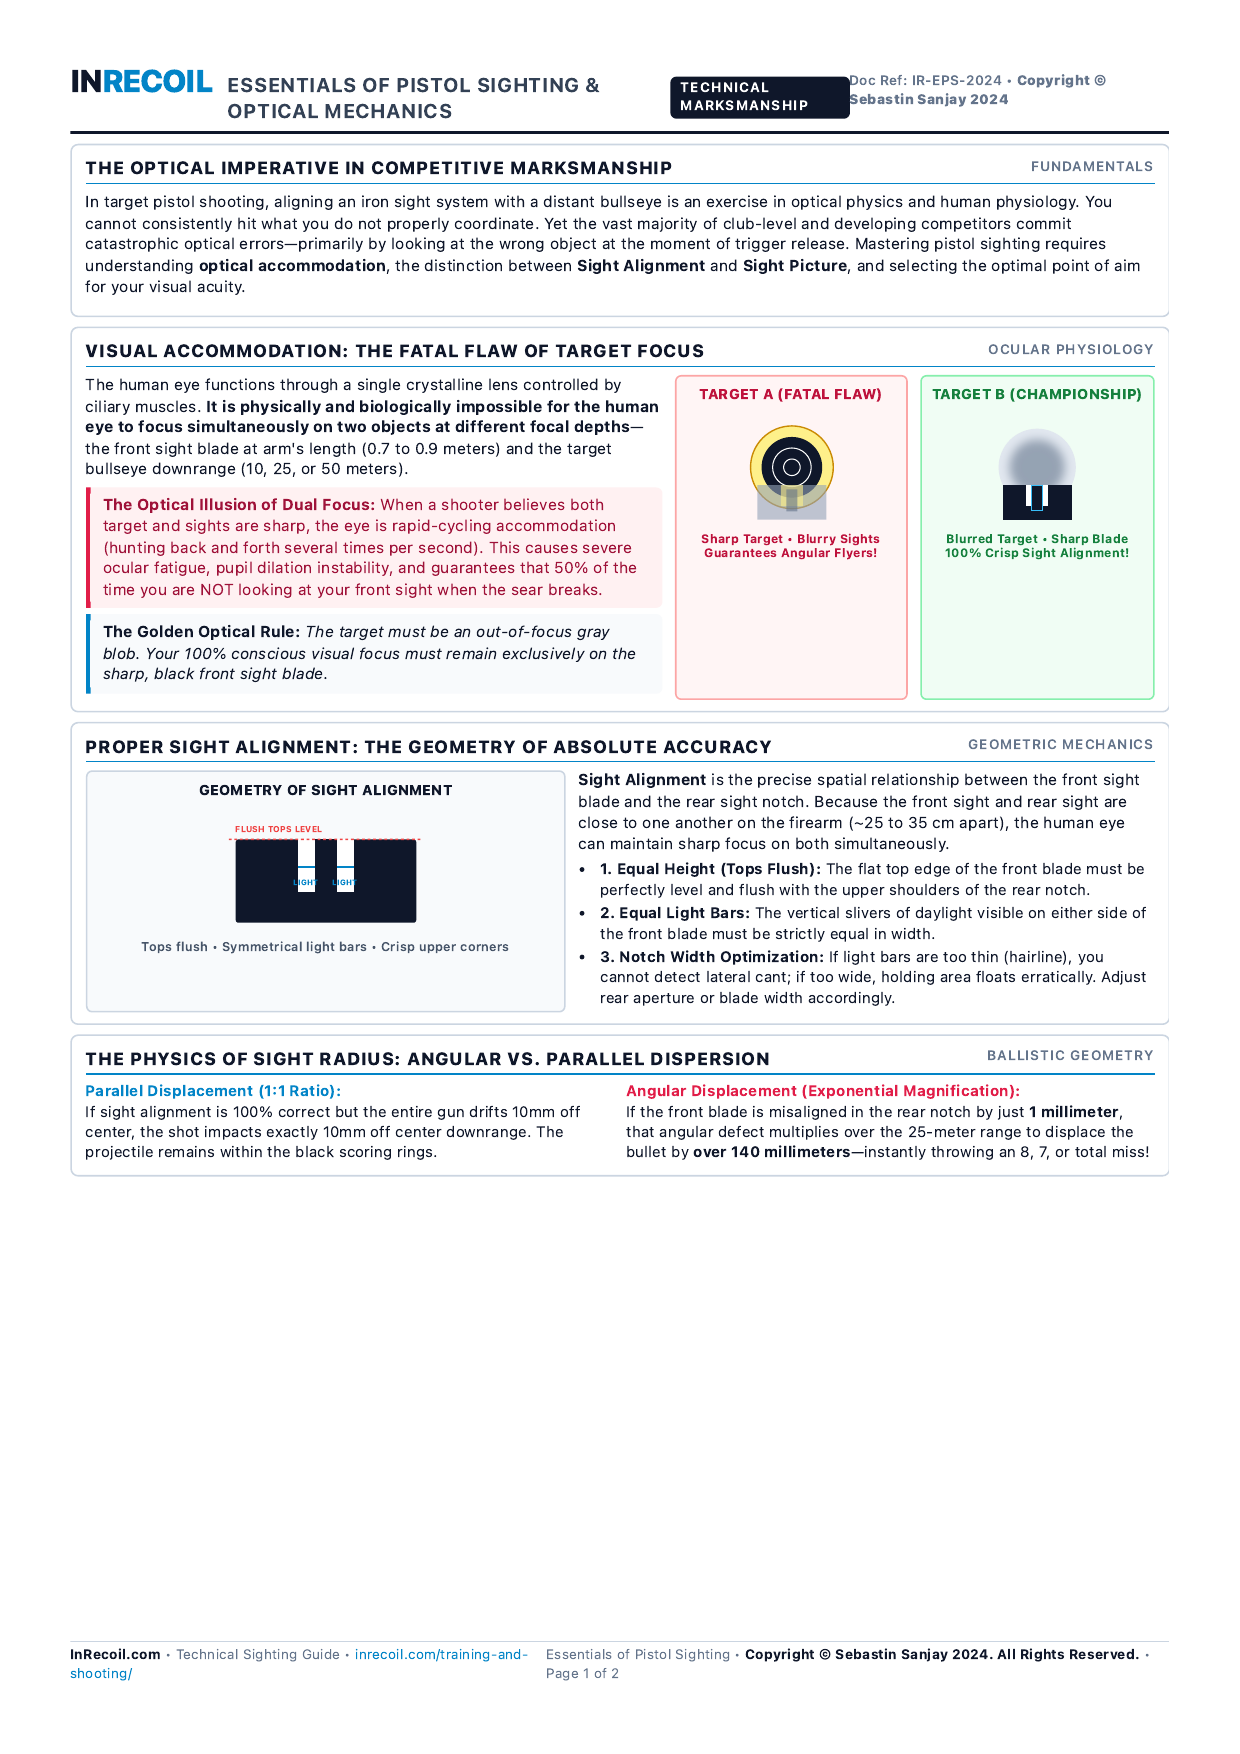
Figure 1: The InRecoil Essentials of Pistol Sighting Manual (Copyright © Sebastin Sanjay 2024), illustrating visual accommodation physics, geometric sight alignment, and the three primary points of aim.
The Physiology of Sight: Why Target Focus Guarantees Failure
To understand why most developing marksmen struggle with erratic shot groups, one must examine the anatomy of the human eye. The eye focuses light onto the retina via a flexible crystalline lens modulated by ciliary muscles. This optical apparatus operates on a fixed focal plane at any given fraction of a second:
The human eye cannot physically focus on two objects at different focal depths simultaneously.
When you extend a match pistol, the front sight blade sits at arm’s length—approximately 0.7 to 0.9 meters from your eye. The target bullseye sits 10 meters, 25 meters, or 50 meters downrange. Because depth of field is finite, your visual cortex can render only ONE of these distances in sharp, high-contrast resolution:
- Target A (The Amateur’s Illusion): If the target bullseye appears crisp, defined, and black, you are looking directly at the target. When you look at the target, your front sight blade becomes a blurry, translucent silhouette. You lose the ability to detect microscopic angular misalignments in the rear notch.
- Target B (The Olympic Reality): When you focus your visual accommodation sharply on the front sight blade, the target bullseye downrange softens into an out-of-focus gray circle. This is not a defect; it is optical perfection.
The Deception of “Dual Focus” Rapid Accommodation
Many marksmen claim: “I can see both the sights and the target clearly at the same time.” Optometry proves this is a physiological impossibility. What actually occurs is rapid accommodation hunting: the ciliary muscles contract and relax at high frequency, bouncing focus between front blade and bullseye. This induces severe ocular fatigue, head tremors, and guarantees that roughly 50% of the time, you are looking at the target the moment the trigger breaks. Focus on one thing: focus exclusively on the front sight.
Sight Alignment vs. Sight Picture: The Crucial Mechanical Distinction
Coaches and athletes frequently conflate two distinct elements of marksmanship aiming. Mastering accuracy requires separating them mathematically:
1. Sight Alignment (The Primary Geometric Relationship)
Sight Alignment is the physical, angular relationship between the front sight blade and the rear sight notch. It has nothing to do with the target. If you aim into a blank white wall or pitch-black darkness, you can still evaluate sight alignment. Sight alignment demands two strict geometric conditions:
- Equal Height (Tops Flush): The flat horizontal top of the front sight blade must be exactly level with the upper shoulders of the rear sight notch.
- Equal Light Bars: The vertical slivers of white daylight visible between the left edge of the front blade and left notch wall, and the right edge of the blade and right notch wall, must be mathematically identical in width.
Notice that looking at your front sight alone does not guarantee a centered shot. You must look through the rear notch to the front blade, using the sharp upper corners of the notch as spatial reference points to verify that the blade is flush and centered.
2. Sight Picture (The Target Superimposition)
Sight Picture is the composite image created when a perfectly aligned sight system is placed in relation to the aiming mark on the target. Sight alignment must precede sight picture: if the sights are misaligned, placing them in the center of the bullseye produces an immediate flyer.
The Physics of Angular vs. Parallel Error Magnification
Why is front sight focus and sight alignment infinitely more critical than centering the gun on the bullseye? The answer lies in the geometry of the Sight Radius:
| Error Type | Mechanical Deviation | Impact on Target Dispersion |
|---|---|---|
| Parallel Displacement | Sight alignment is 100% perfect, but the entire pistol drifts 10mm off center within the holding area. | 1:1 Linear Ratio: The bullet impacts exactly 10mm off center downrange. The shot easily stays within the 10-ring or deep 9-ring. |
| Angular Displacement | The front sight is misaligned in the rear notch by just 1.0 millimeter (elevated or banked laterally). | Exponential Divergence: Over a 25-meter range, that 1mm angular defect magnifies into over 140 millimeters of displacement on the paper—throwing a catastrophic 6, 5, or complete miss! |
As detailed in our companion Target Pistol Shot Analysis Manual, parallel errors cause the least amount of point deduction, whereas angular errors are a marksman’s most lethal enemy.
The Three Primary Points of Aim (Sight Pictures)
In competitive handgun marksmanship, three distinct sight pictures are recognized. No single point of aim is universally superior; each presents distinct optical advantages depending on the discipline, target geometry, and shooter eyesight:
1. Center Hold (Center-of-Mass)
The Center Hold places the top of the front blade directly in the physical center of the target bullseye. The sights bisect the circular bullseye horizontally and vertically.
- Advantages: Natural and intuitive. Highly effective for action shooting (IPSC, USPSA), Bianchi Cup, metallic silhouette, or multi-distance matches where target dimensions and range distances change frequently. Visually, the shooter always looks for the same target picture.
- Disadvantages: In precision bullseye disciplines, placing a black front blade against a black bullseye destroys optical contrast. The edges of the front sight blend into the dark target background, making it impossible to detect micro-deviations in sight alignment. Shooters often hold too long, inducing ciliary eye strain.
2. The 6 O’Clock Hold (Tangent Hold)
The 6 O’Clock Hold places the top edge of the front sight blade in direct tangent contact with the bottom curvature of the black bullseye (the 6 o’clock position on the clock face). Rear sights are mechanically adjusted upward so that bullets impact into the center 10-ring.
- Advantages: Provides a sharp, precise geometric reference line. The shooter can clearly see where the flat top of the blade meets the rounded black bullseye.
- Disadvantages: In fluctuating range light, the bottom of the bullseye can appear to shimmer or blur into the front sight blade. This optical blending causes shooters to subconsciously push the blade up into the black (shooting high) or jerk the trigger aggressively the instant the blade touches the rim (shooting low).
3. The Sub-6 Hold (Line of White / Area Aim — The Olympic Standard)
The Sub-6 Hold—widely preferred by Olympic 10m Air Pistol and 50m Free Pistol champions—places a deliberate, measurable cushion of white target paper between the bottom of the black bullseye and the top of the front sight blade. Sights are elevated mechanically to strike the 10-ring.
- Advantages: Delivers maximum optical contrast. The black front sight blade is silhouetted against pure white paper, making edge resolution razor-sharp. Because the sights are not touching the bullseye, the shooter avoids the temptation to “time” or snatch the trigger when touching the rim, facilitating fluid trigger control mechanics.
- Disadvantages: Requires adjusting to aiming into an unmarked white area. Requires sight elevation adjustments if target dimensions change.
| Sight Picture Style | Optical Contrast Level | Lighting Sensitivity | Trigger Psychology Impact | Primary Match Discipline |
|---|---|---|---|---|
| Center-of-Mass | Poor (Black blade on black bull) | Low (shadow tolerant) | Prone to overholding | Action Pistol, Steel Challenge, IPSC |
| 6 O’Clock Tangent | Moderate (Defined tangent line) | Moderate (Rim shifts in glare) | Trigger snatching on contact | 50m Free Pistol, Precision Rifle |
| Sub-6 (Line of White) | Maximum (Black on pure white) | Requires sight elevation clicks | Superior (Smooth fluid float) | 10m Air Pistol, 25m Standard |
The “Equal Light, Equal Height” Sub-6 Calibration Rule
A common objection to sub-6 sighting is: “How can I aim consistently at an empty white space on a piece of paper?” The human brain is an extraordinary pattern-recognition engine, exceptionally gifted at detecting asymmetries in geometric proportions.
The Geometric Symmetry Solution
To establish an immutable sub-6 point of aim, adjust your rear sight elevation so that the height of the white gap between the front sight blade and the bottom of the bullseye visually matches the width of the light bars on either side of the front blade.
When the vertical gap equals the horizontal light bars, the sight picture forms a balanced, tripartite geometric frame. If your pistol rises too high or drops too low, your visual cortex immediately registers that “one of these things is not like the other,” alerting your motor control to correct the alignment without conscious calculation.
Advanced Optical & Environmental Sighting Protocols
1. Binocular Vision & Translucent Occlusion
Squinting or closing your non-dominant eye is a critical error in competitive marksmanship. Closing one eye triggers sympathetic neurological tension in the facial muscles, produces unequal pupil dilation (photophobia), and induces premature optic nerve exhaustion. Top marksmen always shoot with both eyes open.
To eliminate double vision (diplopia) without squinting, mount a translucent blinder (30mm maximum width) on your shooting glasses over the non-aiming eye. The translucent material allows equal ambient light into both pupils, maintaining identical optical accommodation while blocking the non-dominant eye’s view of the target.
2. The Light Rule: Ambient Lighting Variations
Range lighting exerts a profound physical effect on where shots impact:
“Light in, sights in; bright lights, high hits; dim lights, low hits.”
Under intense, glaring overhead sunlight, the top edge of the front sight blade reflects strong highlights, causing the blade to appear optically shorter. The shooter subconsciously elevates the front sight in the notch to compensate, causing shots to strike high. Conversely, in dark or poorly illuminated indoor bays, the top edge appears fuzzy and tall, causing the shooter to depress the muzzle and throw shots low. Master competitors log range lighting conditions in their shooting journal and make proactive micro-clicks on their rear sight elevation.
3. The Dynamic Float Doctrine: Accepting the Wobble
A stationary human body is an illusion. Arterial pulse waves, respiratory movements, and vestibular balance adjustments produce an unavoidable, continuous oscillation of the muzzle. This is known as your arc of movement.
Amateurs fight this movement: they attempt to hold the firearm dead-still. When the sight drifts across the bullseye, they jerk the trigger in a desperate panic to “catch the 10.” Champions accept the float. As detailed in our guide on mastering the minimum arc of movement, your objective is not to eliminate wobble, but to narrow its diameter, maintain 100% focus on sight alignment, and let the trigger break smoothly through the movement.
The 5-Step Range Sighting Verification Protocol
Before firing your first competition series, execute this five-step optical verification routine:
- Step 1: Verify Natural Point of Aim (NPA). Mount the pistol onto the target with eyes closed. Open your eyes. If the front sight is not naturally centered in your aiming area, adjust your foot placement and body angle using our NPA alignment protocol. Never muscle the sights onto the target.
- Step 2: Check Notch Aperture Symmetry. Look through the rear notch. Verify that daylight bars on either side of the front blade are equal and wide enough to clearly detect angular canting under range lighting.
- Step 3: Lock Visual Accommodation. Consciously transfer 100% of your visual focus to the serrations or crisp top corner of the front sight blade. Confirm that the target downrange has blurred into a soft gray circle.
- Step 4: Execute Smooth Trigger Squeeze. Apply steady, uninterrupted rearward pressure using our trigger control mechanics, allowing the shot to break as a subconscious surprise while keeping the sights floating in the aiming area.
- Step 5: Hold Follow-Through. Maintain front sight focus and keep the trigger pinned to the rear for 1.0 second post-discharge, absorbing sensory feedback as taught in our follow-through guide.
[row]
[column width=”6″]
Core Technical Mechanics Guides
Build an unshakeable foundation for your sighting system:
[/column]
[column width=”6″]
Diagnostic & Tactical Manuals
Diagnose sighting errors and execute under match pressure:
[/column]
[/row]
Diagnostic Journaling: Selecting Your Ideal Point of Aim
Do not guess which sight picture is right for you. Over the next four weeks, commit to a structured empirical trial using our general shooting exercise protocols:
- Shoot 100 match rounds using the 6 O’Clock Tangent Hold and record group diameter, trigger hesitation frequency, and flyer coordinates in your shooting diary.
- Shoot 100 match rounds using the Sub-6 Line of White Hold, calibrating your light bars symmetrically. Compare holding trace stability and score averages.
- Refer to your data, consult your coach, and make an informed, permanent commitment to your chosen sighting architecture.
[box]
Print the Essentials of Pistol Sighting Manual (PDF)
Download the high-resolution, 2-page A4 vector reference card. Designed for your range bag or clubhouse training wall. Features crisp visual accommodation schematics, equal light alignment formulas, and point-of-aim comparative tables.
[button url=”https://inrecoil.com/wp-content/uploads/2026/11/inrecoil-essentials-of-pistol-sighting.pdf” text=”Download Free Sighting PDF”] [button url=”https://inrecoil.com/training-and-shooting/technical-pistol/sighting-with-the-pistol/” text=”Explore Complete Sighting Guide”]
[/box]
Have questions regarding iron sight apertures, optical corrective lenses, or sighting transitions? Reach out to our coaching staff on our About InRecoil page or submit an inquiry through our Contact Page.